
So you wanna build a Snow Cave? Thankfully it’s a lot easier than I thought – easy as in not complicated, that is. Building a snow cave takes a lot of hard physical labor, but is well worth it in the end as you have a comfy, flat, dry, above freezing home for the night.
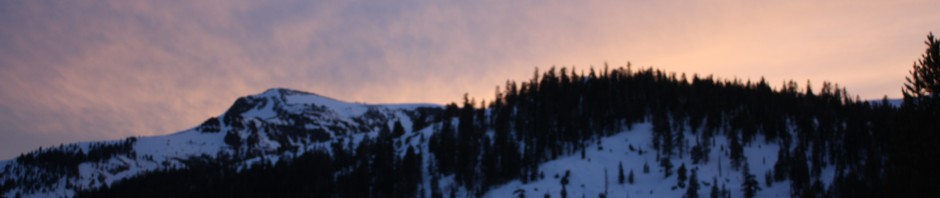
This weekend, George, Greg and I ventured off to into the great outdoors for two days of snowshoeing and winter backpacking with some big ideas of how we could spend the night.
On Friday afternoon, I had read about the IceBox which unfortunately is only available online from REI and occasionally at their flagship store in Seattle. The IceBox is a brilliant invention which allows for the creation of perfect igloos, even with less than ideal snow. As I would not be able to acquire this in time for our trip, we had to make do with building a snow cave, and hauling in a 3 person tent and tarps in case that didn’t work out.
So where do you learn how to build a snow cave?

From a great book. If you don’t already own a copy of Freedom of the Hills, and ever plan to venture out into the mountains, drop what you’re doing and pickup a copy right now. It is the bible of mountaineering and is now on it’s 7th edition. Inside, it goes into everything you need on the subject from digging snow trenches, to building igloos, making snow caves and more.
A successful snow cave comes down to a few basic concepts which we stuck to and got great results. Here are my rough mental notes on “best practices”:
- Don’t try and pile up snow. The snow will “set” and be impossible to work with. Instead, look for an existing pile on the leeward (opposite of windward) side of a hill. The wind will blow snow over the edge and it will pile up big and high.
- Test the snow before you dig. Use an avalanche probe, ski pole, or in our case, the shaft of an ice axe, to gauge the depth of the snow, both down and into the hillside. We did this from time to time to and were shocked we never hit dirt!
- Dig down and into the hillside. As you excavate, pile the snow on both sides of your stairway. This builds up walls which protect from the wind.
- Dig a “T” shape INTO the hill, as if you had a hot iron with the letter T on it and pressed it in. This allows you to shovel snow out the sides from the inside of the cave, instead of underneath you which would be inefficient.
- As soon as you get to where you want to expand inside, start digging up, with the angle of the hill, to create your vaulted ceiling. You’ll want a dome shaped ceiling (more on that later), and it’s also easier to dig.
- Keep your sleeping platform higher up than the lowest step. That means you dig down to then build up. This creates a “cold trap” which will trap the colder air below you and keep you warmer.
- Make your entire cave a SMOOTH dome. After you finish with your rough shape, start smoothing the ceiling and all walls. Any part that isn’t smooth will drip on you and that would be miserable. If near perfectly smooth, water will roll down the sides and on the edge of the floor.
- Create a trench around the perimeter of the cave so any water that drips down will land, pool, run off and freeze there, instead of underneath you.
- In the stairway leading into your cave, create a small dugout for your kitchen. You need just enough space for your stove to be protected on three sides from the wind. You obviously do not want to cook in your cave.
- Create a few angled ventilation holes in the ceiling through to the surface for your exhaled air to escape. This way you don’t die in your sleep. The shafts should be about the width of the ski basket on your pole. We used the shaft of my ice axe, and the ceiling was thick enough that it barely got through to the surface. Rotating it around a bit widens the hole.
- Don’t close your cave entrance off. Your stairwell is your source of fresh air. Even lying down, still in my sleeping bag with a tarp covering most (but not all) of the doorway, I wasn’t getting enough oxygen. Pulling it to the side to let more air in felt great. Don’t worry, there’s no wind inside. It’s quiet, calm and warm(er).
- Mark your snow cave with wands (or poles in our case) so anyone else coming down the mountain or along where you’re staying doesn’t fall in, hurt you, or hurt themselves.
- Keep your snow tools INSIDE in case you need to get OUT. We got ~20 inches of snow overnight, and with the shovel inside, we were easily able to shovel our way out and up the stairs.
The result of all this was we had a spacious, dry and comfy cave for three with enough space to store gear inside. If you want to get fancy, (next time!) dig small alcoves in the wall to put your boots in upside down to dry out and store anything else you like.
Around sunset, it was already 18°F out and the wind was starting to pick up. We never got another read outside during the night, but inside, it stayed a comfy (and dry) 35°F all night long.
For some great photos with captions and all, check out my Snow Cave facebook album.
Here’s a video tour of the cave construction in progress:
Got any other great tips? Would love to hear them!
2 thoughts on “Building a Snow Cave”